Using A Clay Bar

what is it
A detailing clay is a play-doh like consistency with good adhesive properties. In other words, it is very sticky on things. Its this stickiness that does the magic of cleansing the paint of your car. So why use it?
The surface of your vehicle is constantly getting exposed to airborne contaminants that will actually stick and get embedded to the finish and potentially cause damage. Some of these things are brake dust, industrial fallout, bug residue, tar, etc. Quite a few of these items can be corrosive, and they will start to damage the clear coat and cause rust spots if not removed regularly by using a clay bar. Tiny metal particles (commonly referred to as rail dust) will embed into the finish, and will show up as very small rust colored specs that are particularly easy to spot on light colored cars.
Regular washing doesn’t remove all of the contaminants from the surface. If you run your car through the occasional touch-less car wash (do NOT use car washes with brushes or anything else that touches the surface), you will notice that there is still a film of road grime left. Over time that will build up and the only way to remove it is by claying.
By rubbing the detailing clay across the surface of the vehicles, it will actually trap these particles and contaminants leaving a fresh, smooth finish.
Not only does claying prevent potential damage from some of these corrosive materials, but it also provides a smooth surface that allows your sealant or wax to adhere better.
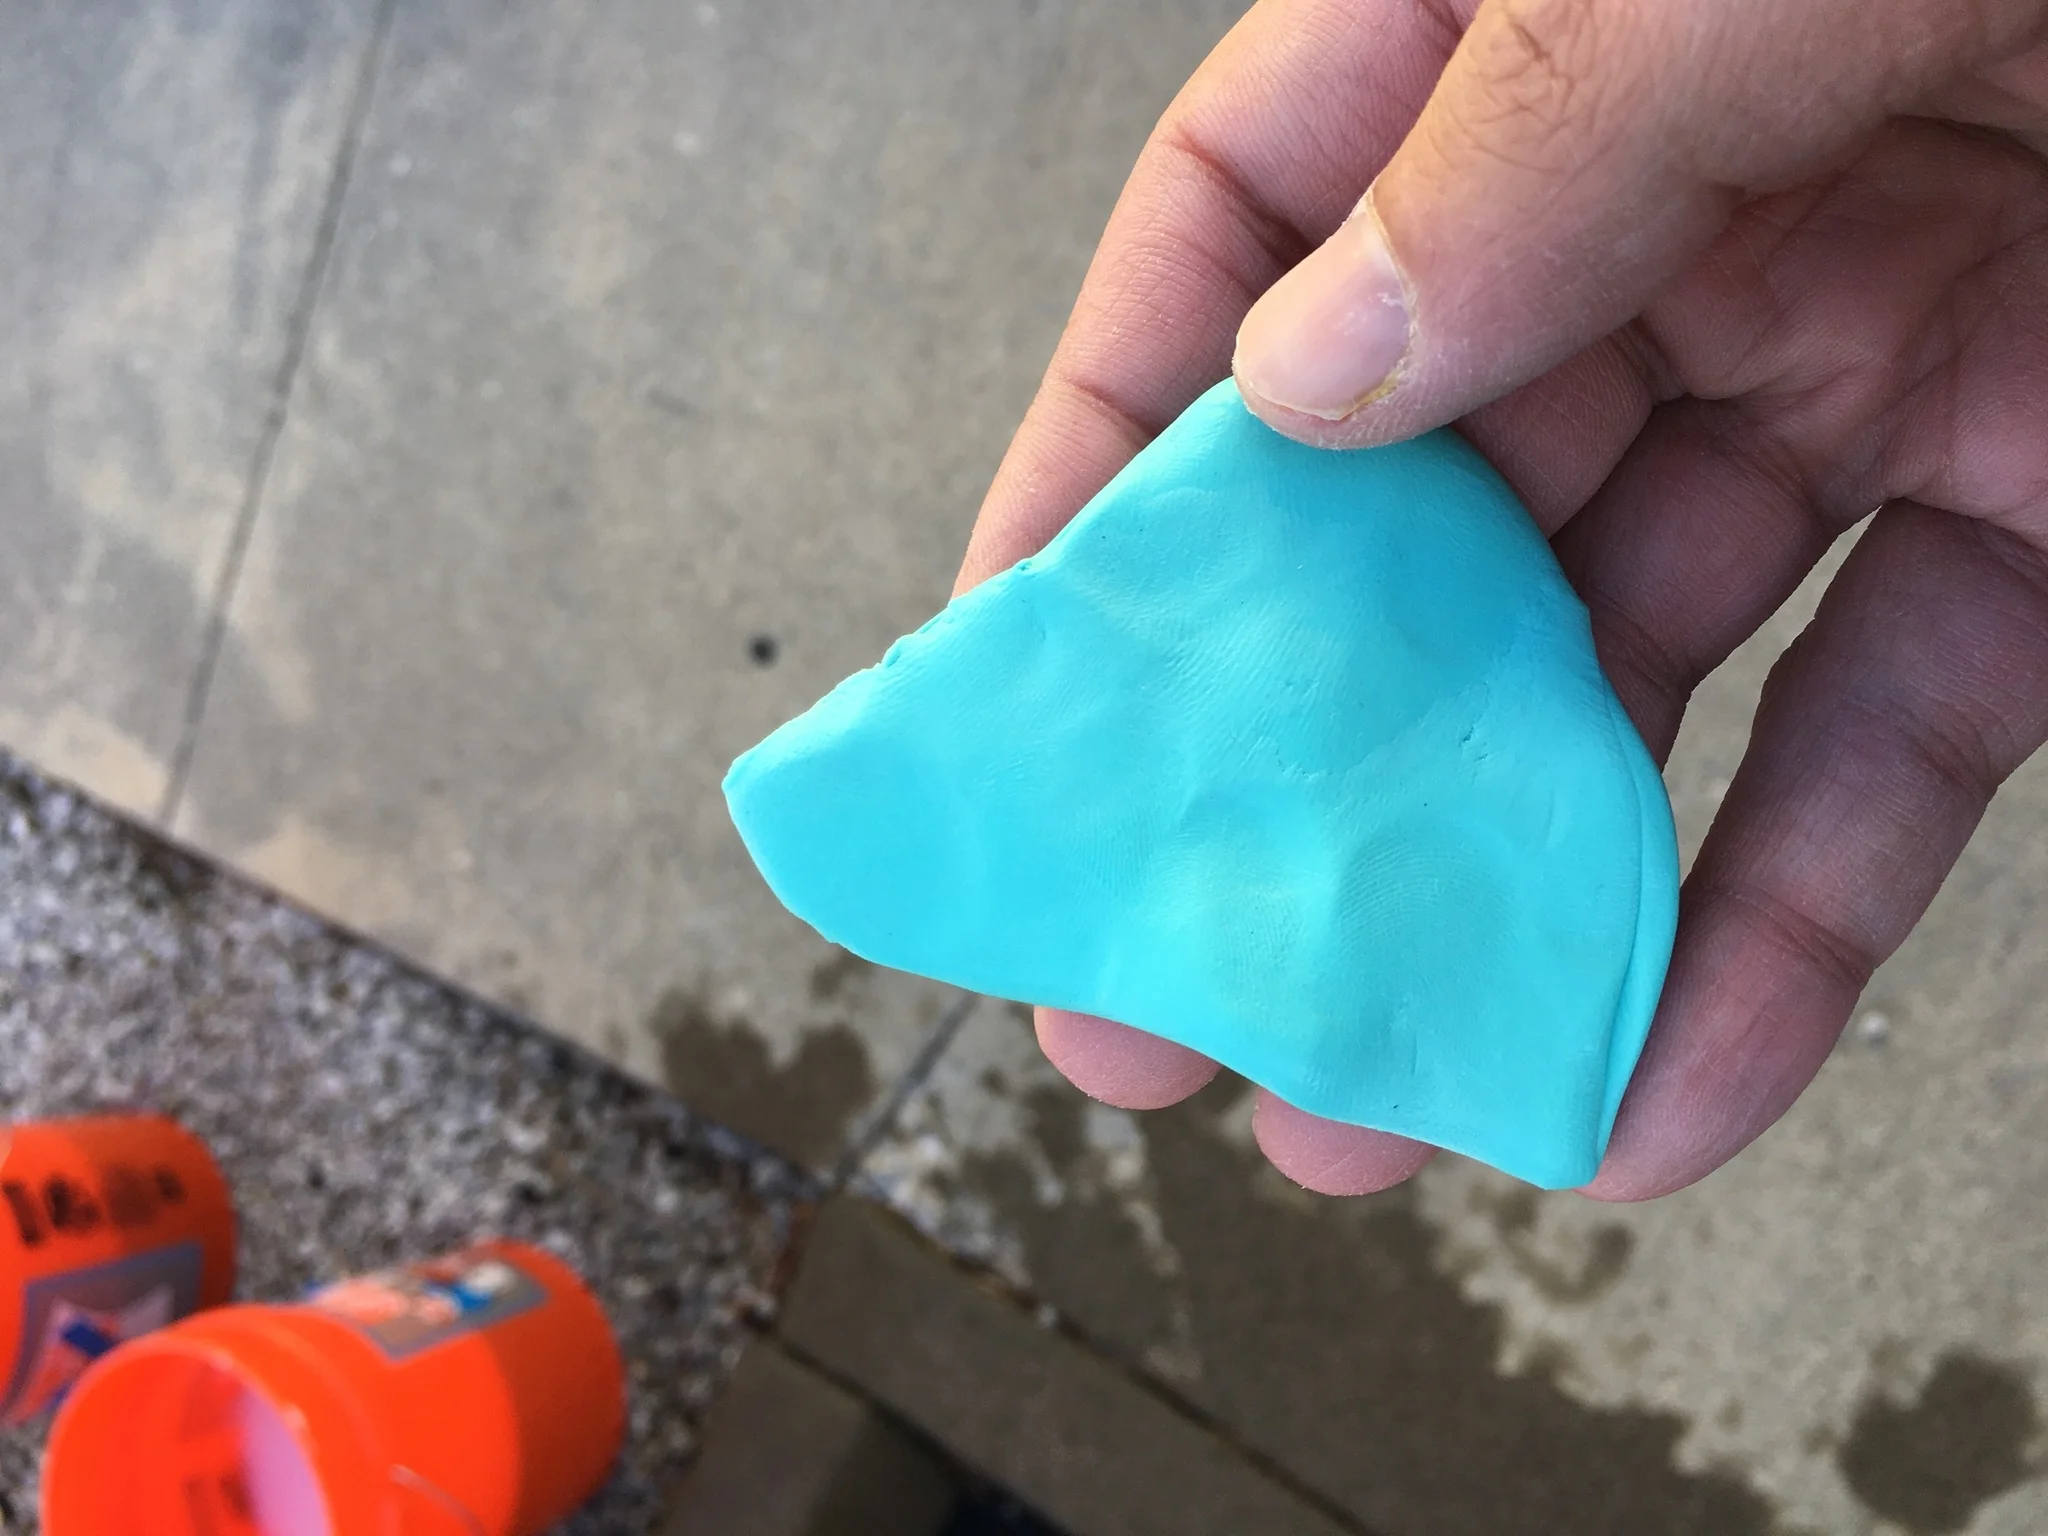
Fresh clay out of the box and kneaded into shape
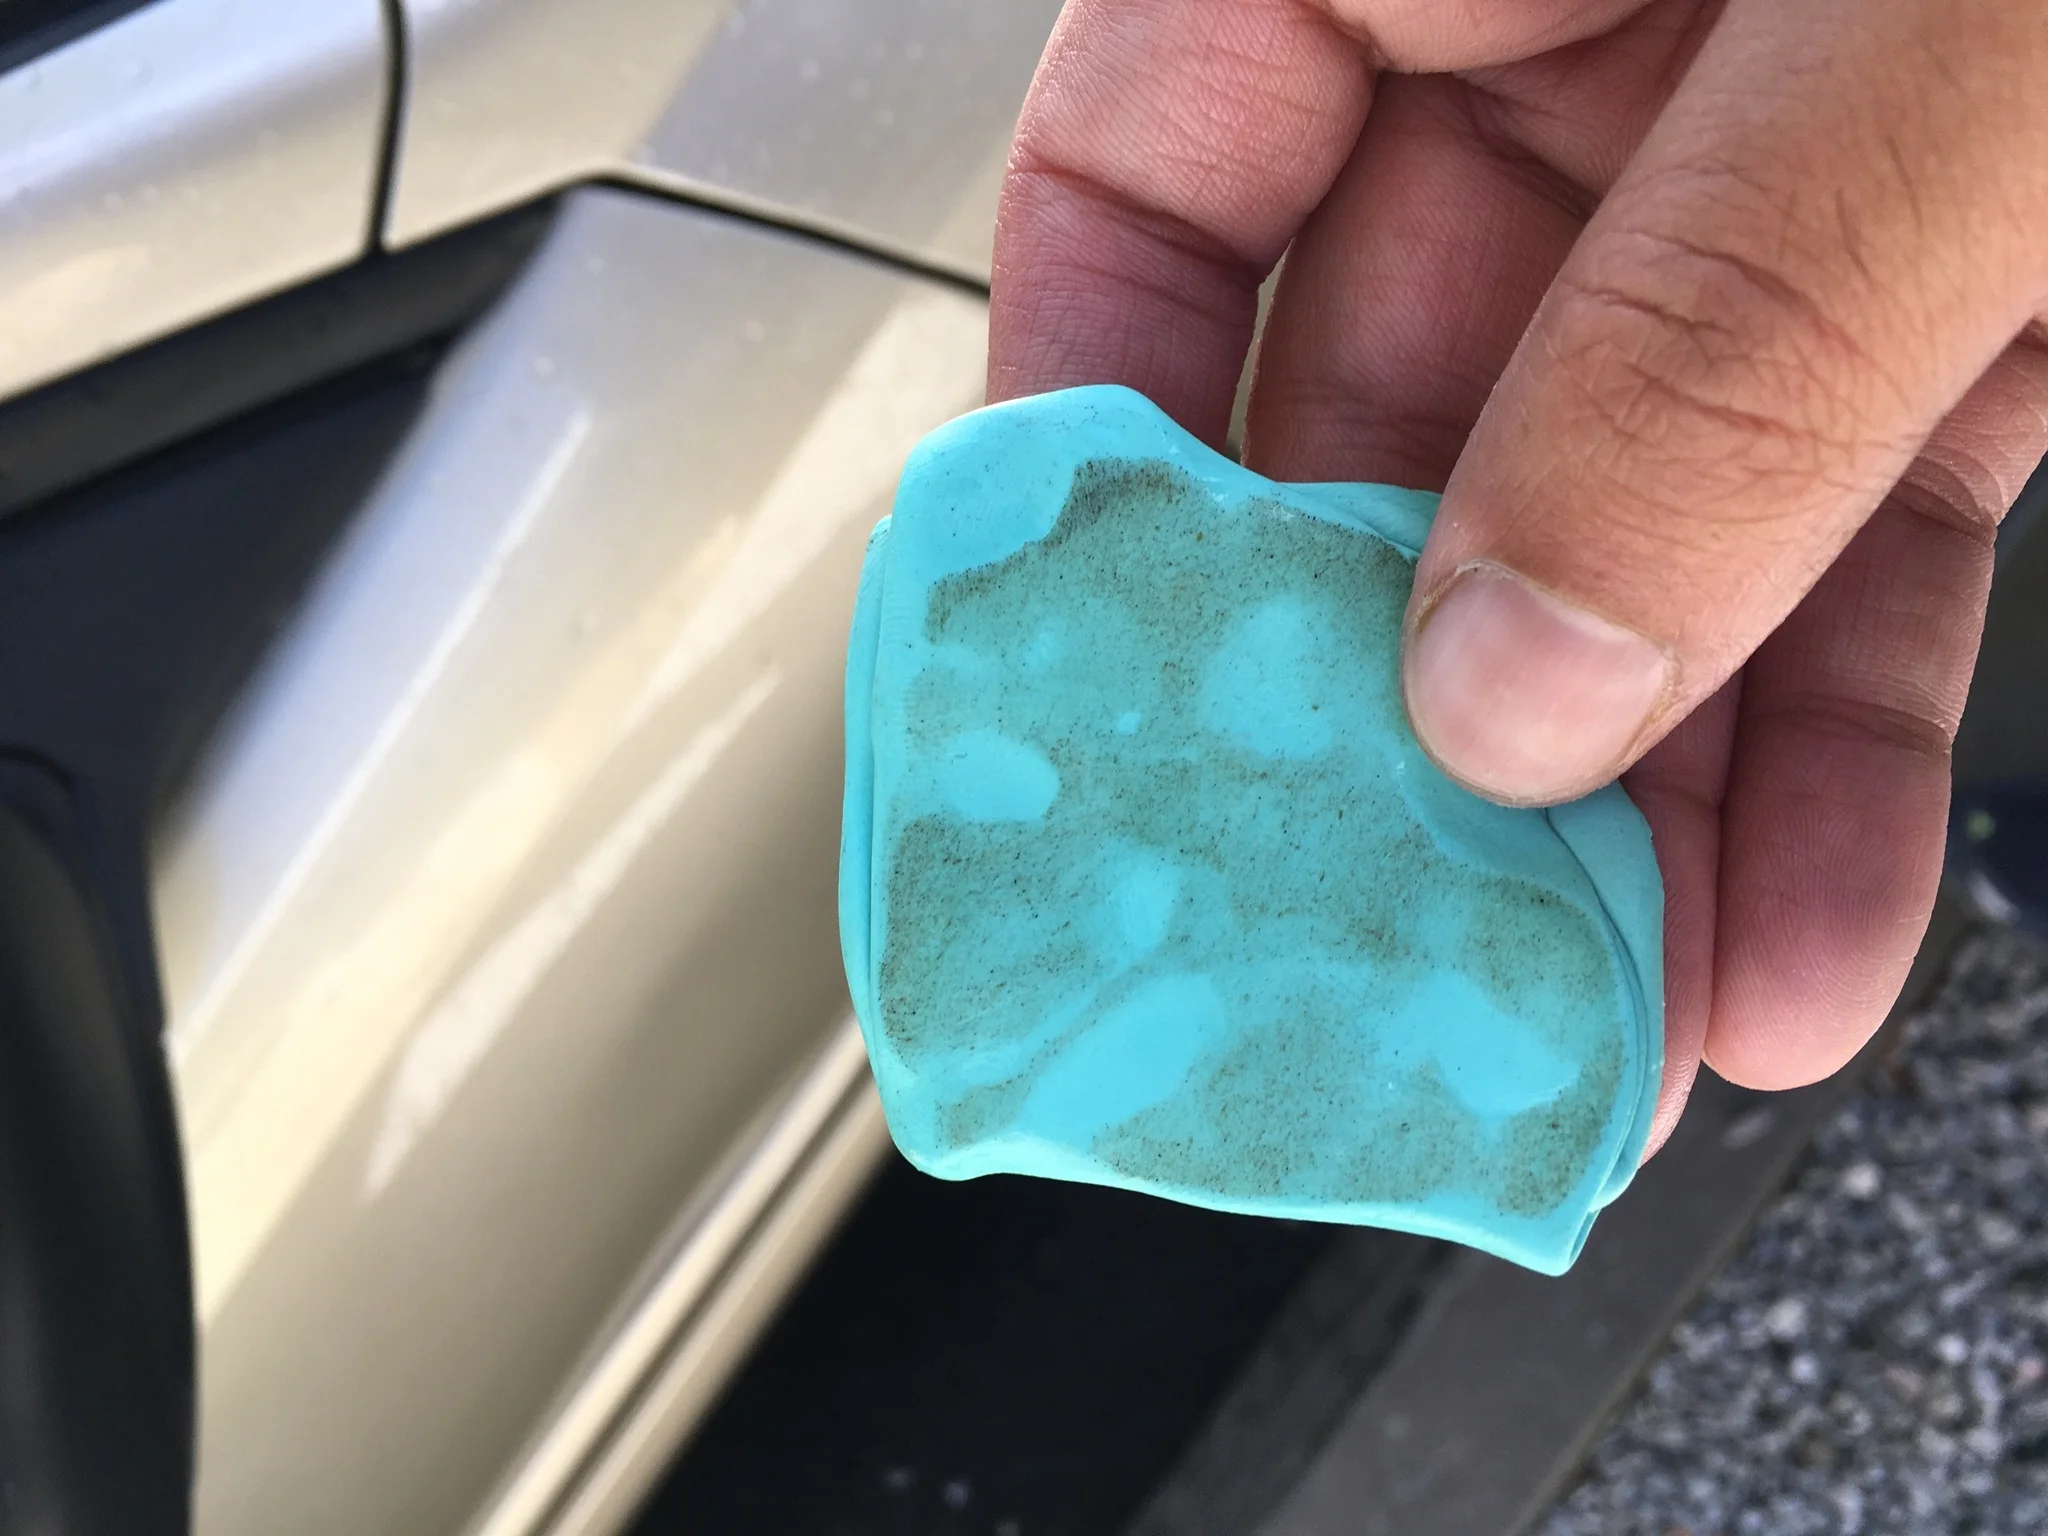
Same clay bar after being used on a just washed car's panel
how to use clay bar on your car
Things you'll need: fine grade clay and clay bar lubricant. Without lubrication, the clay will grip the paint and won't glide. This could cause marring to the clear coat of your paint which will require paint correction/polishing.
If you are new to clay, I would recommend using a fine grade bar of clay. The finer the clay, the less chance of marring the finish. The medium/heavy grades are used for more heavily contaminated vehicles and it has a greater risk of marring the finish.
As for clay lubes, there are plenty of choices out there. If you have assembled a detailing kit from my list, then you can use the quick detailer as a lube. Be warned that you'll run through the quick detailer really quick. I recommend mixing it 1:1 with water just for the purpose of clay lubricant. If you wash bucket is really clean, you can use the soap water as a lubricant too.
products needed
- Clay bar
- Lubricant
- Microfiber towels
step 1
Before you start, you’ll want to thoroughly wash and dry your vehicle. This is all you need to do to prep the surface for claying.
Take your clay bar and cut it up into 3 or 4 equally sized pieces. You don’t want to use one big piece because if you drop it on the ground, it needs to be thrown away!
step 2
Now take one of the pieces and flatten it out so it’s easily held with about 3 fingers.
Work in small sections so that your lubricant doesn’t have a chance to dry out, and preferably do it in the shade. Liberally spray your clay lubricant across the surface. If you miss a spot, the clay will stick so be sure to get an even coverage.
With light pressure, glide the clay back and forth across the surface. Do this only in one direction and back as opposed to circles or switching directions. You should be able to hear and feel the clay picking up contaminants as it glides across the paint. Be sure not to use too much pressure otherwise you will risk marring or scratching the finish (another important safety tip!).
After a few passes you should notice that the clay glides effortlessly, and you will no longer feel or hear the roughness in the finish. Once you have achieved this, it is time to move to the next section. If you have a section that still feels rough after a few passes, re-mist the area with lubricant as you’re going to make sure the clay moves freely.
step 3
You always want to keep a fresh side of the clay on the paint, so be sure to inspect it often. Do a few small sections, and then flip the clay over to exposure a fresh side. After you have done both sides, you can fold the clay a few times, knead it, and then re-flatten it out to make sure you have a clean piece of clay to work with. You should continually check the clay to make sure there are no heavy pieces of debris in it that could potentially harm the finish.
Typically the worst areas of the vehicle will be the horizontal surfaces, the back end, and the areas directly behind the wheels.
After you’re done claying the car and you’ve exposed a smooth new surface, you have a few options for your next step.
If you’re machine polishing, then you’re surface is prepped and ready. If you want to do it by hand, a product like Dodo Juice’s Lime Prime pre-wax cleanser (for light defect removal), or their Lime Prime Lite (no abrasives) to give the paint a nice shine, and a good base for waxing.
Or finally at this point you can go straight to your favorite wax or sealant.
notes
If it’s your first time, you should expect the process to take an hour or so. Once you’ve done it a few times (and your car is already pretty clean), you should be able to eventually bring the total amount of time down to about 30 minutes or less.
Once again, if you drop your clay…throw it away!
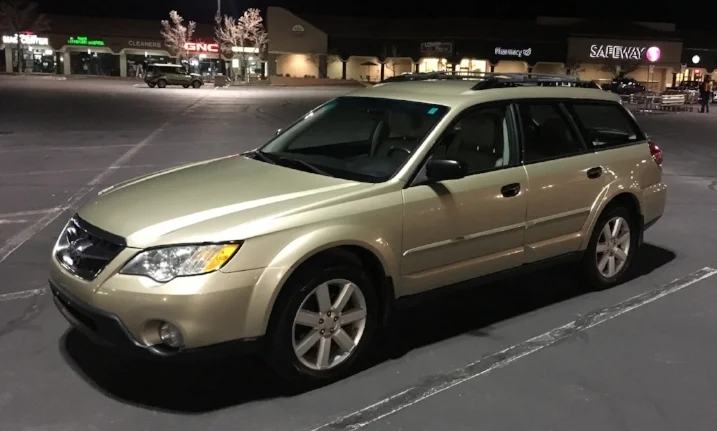
A 10 year old car with a refreshed glow after claying!