supplies needed
- Shop vac
- Various brushes (Carpet, Upholstery, Leather)
- All purpose cleaner
- Carpet Cleaner
- Microfiber Towels
- Vinyl Sealant/Protectant
- Glass Cleaner
Now that we have all the tools and products we need lets get started. We will use this Chevy truck, which is very heavily used. It has not been cleaned in a long, long time. There are quite a few crusty deposits and dirt all over, which can clearly be seen in the pics below.


Tons of other dirt and debris have accumulated over time which were not cleaned. Food, coins, wrappers, movie stubs, and other things had collected between and under the seats.


There were quite a few spills near the cupholder areas as well


getting started
The first thing we want to do is to remove all loose articles from the interior and then take our Shop-Vac and give the whole interior a thorough vacuuming. If you have crusty salt deposits or stains they can often be loosened up with a stiff carpet brush while they are still dry.
Also, go between the seams on the seats and vacuum them up. Be sure to check under the seats and between the center console to ensure you have picked up any loose debris from there.
Step 2
Now we will want to tackle the interior trim and headliner. The vinyl can be cleaned using an all purpose cleaner (APC) and various brushes, and several MF towels.
I start by spraying the heavily soiled areas of the panel with an APC. (Arm rests are often the worst area on the panel). Next gently agitate the soiled ares with an upholstery brush so that you can get down into the textured groves of the vinyl.

After agitating those areas with a brush follow it up by wiping the panel down it a damp MF towel. If only light cleaning is needed a simple spray with APC and wipe with a towel is all that is needed. Then follow up with a dry towel. Be mindful around electronics and switches when using cleaning liquids and compressed air. Avoid spraying them directly with cleaners, water, and air.
A lot of vehicles have cup holders and trays that are easily removed and simply snap back into place. If the vehicle you are working on has trays like these, you can save time and also do a much better job of clean them outside of the car. The tray below was removed, sprayed down with some Optimum Power Clean, agitated with a brush, rinsed off with water, dried down, and dressed with protectant.

Step 3
After finishing the interior trim I did some light cleaning of the headliner. Anytime your working with the fabric headliners you want to avoid over wetting. To do this I simply spray some APC on a dry micro fiber towel and gently rub the soiled areas.
The leather seats were also gently cleaned using a leather cleaner. This was done by working in small sections using a process similar to the vinyl above, though you want to be a little more gentle using the leather brush. When working on leather always test the cleaners in an inconspicuous areas first! Some leather dyes are very delicate and using a brush could cause them to bleed.
Step 4
Use a carpet cleaner generously on the floor of the car to clean up any spots that you see. In some cases, you may have to work in sections if the entire floor is dirty. This will take time, so be patient. Spray the cleaner and let it be on the carpet for a bit before using your brush. Once the stains are soaked, use the brush to agitate the carpet and use a towel to clean it up. Repeat this step until all the spots have been treated.
Step 5
Now that the carpets are done you can go over all the vinyl with a protectant that meets your desired level of gloss. Finally, clean all the glass surfaces with a glass cleaner.
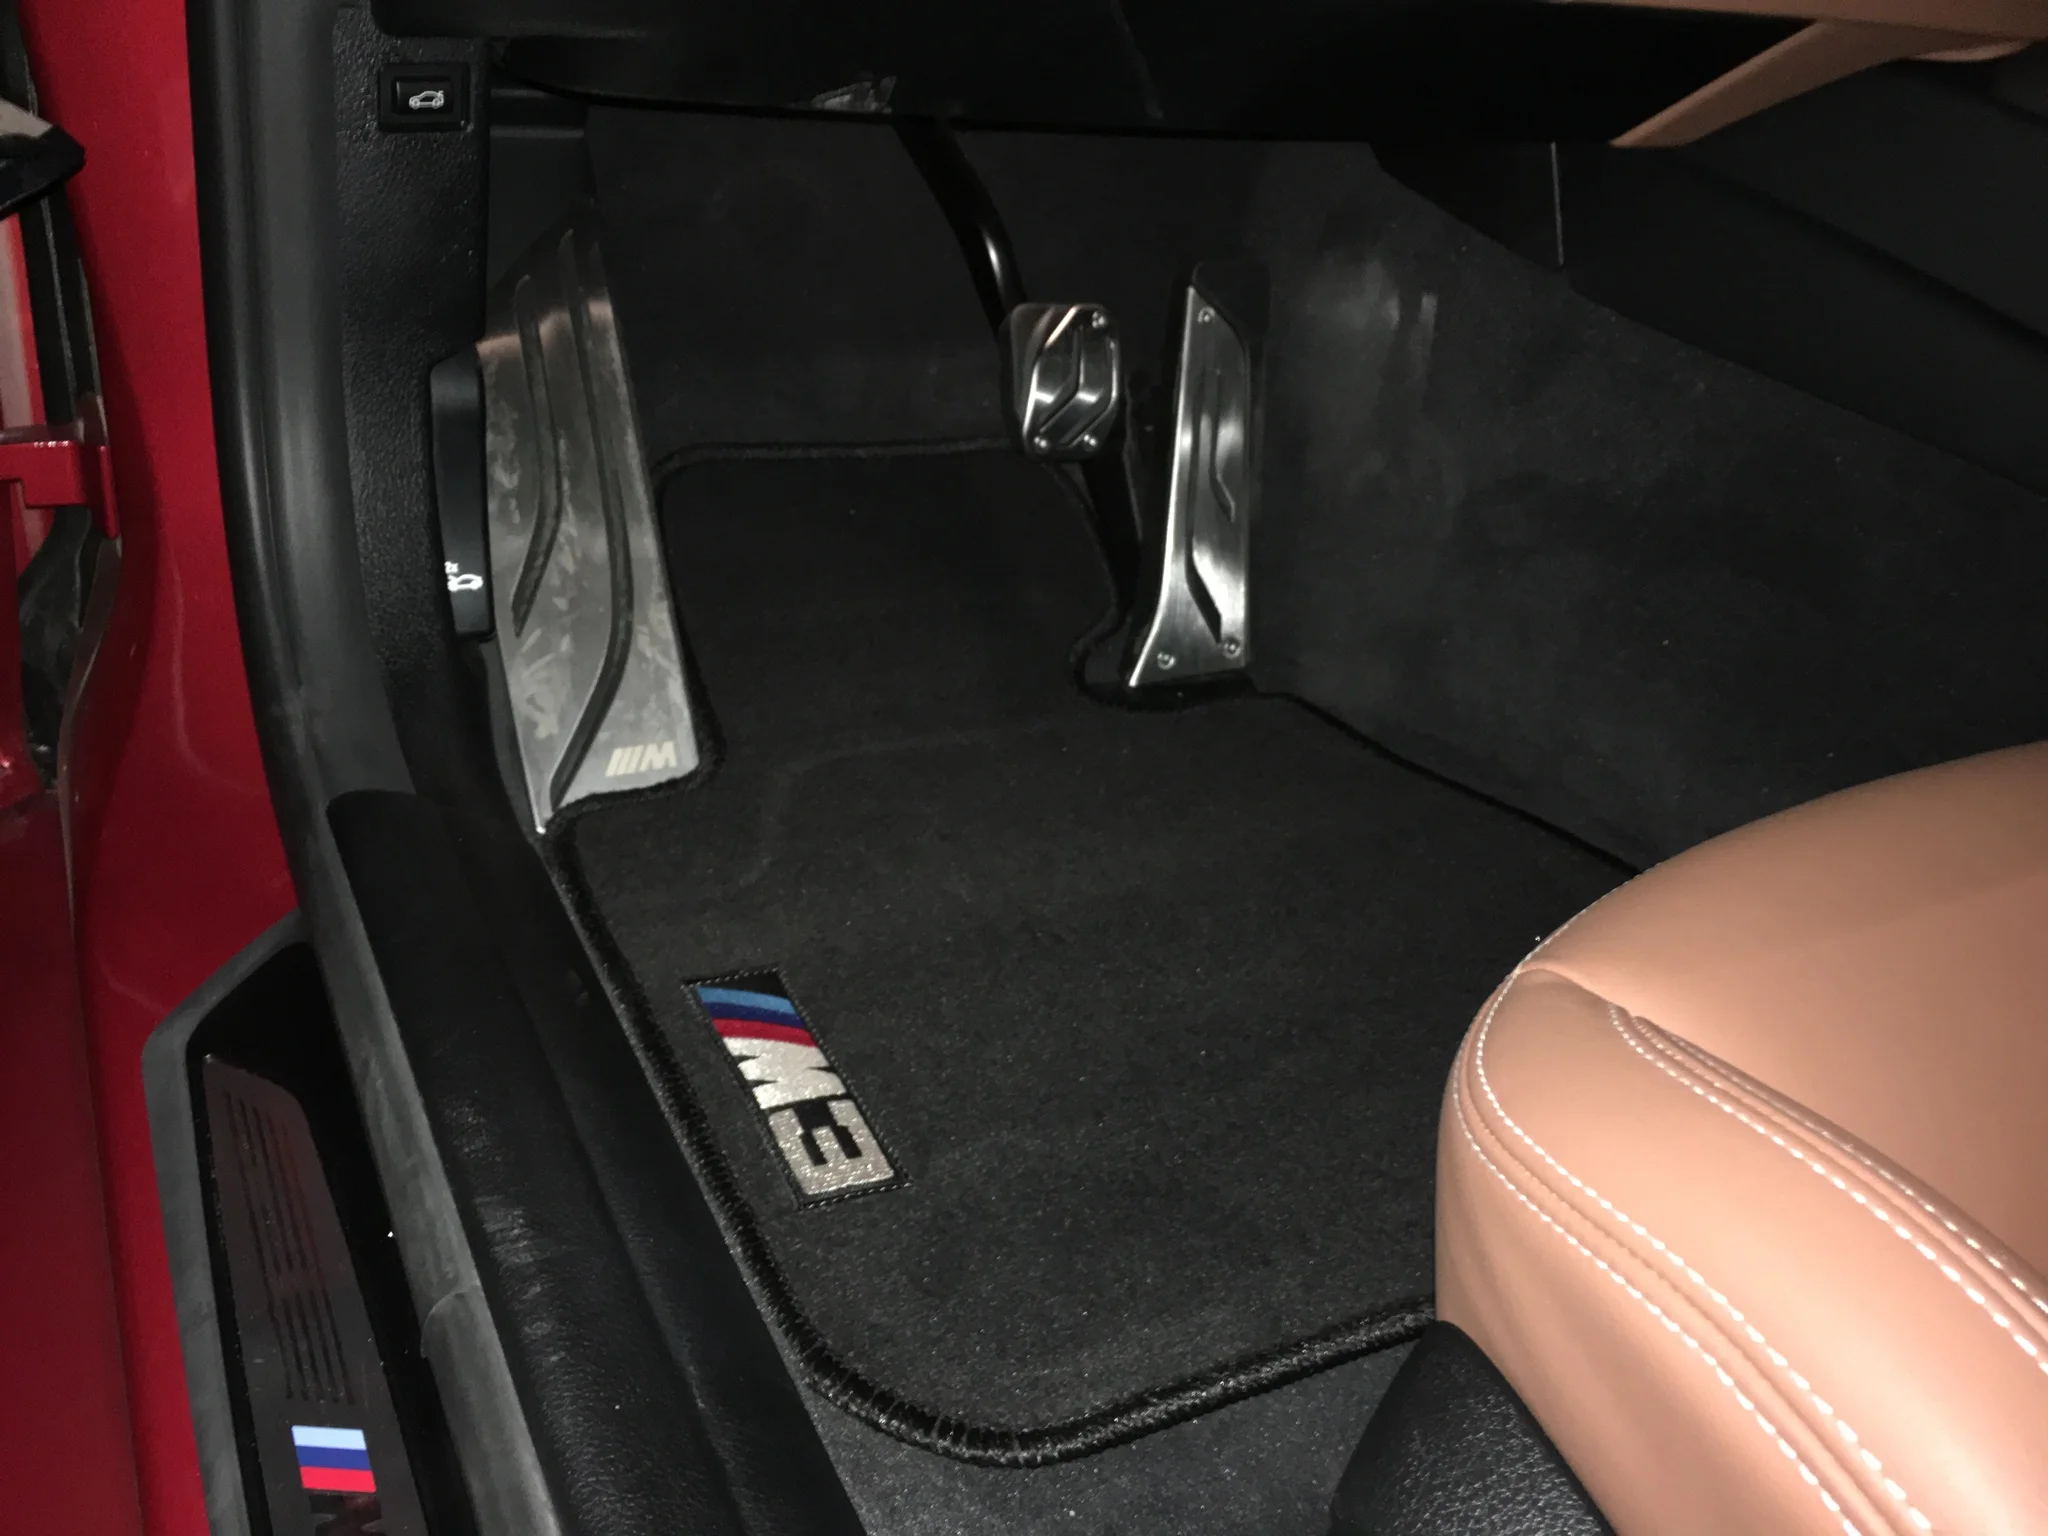
Here are the completed pictures:


